Decoupage Indoor Planter
Hi All,
Nupur here. This time I have brought you a fun project using Little Birdie decoupage papers. I am sure you all like displaying your plants in smart planters. Today I will show you how to make an attractive decoupage planter from an ordinary one.
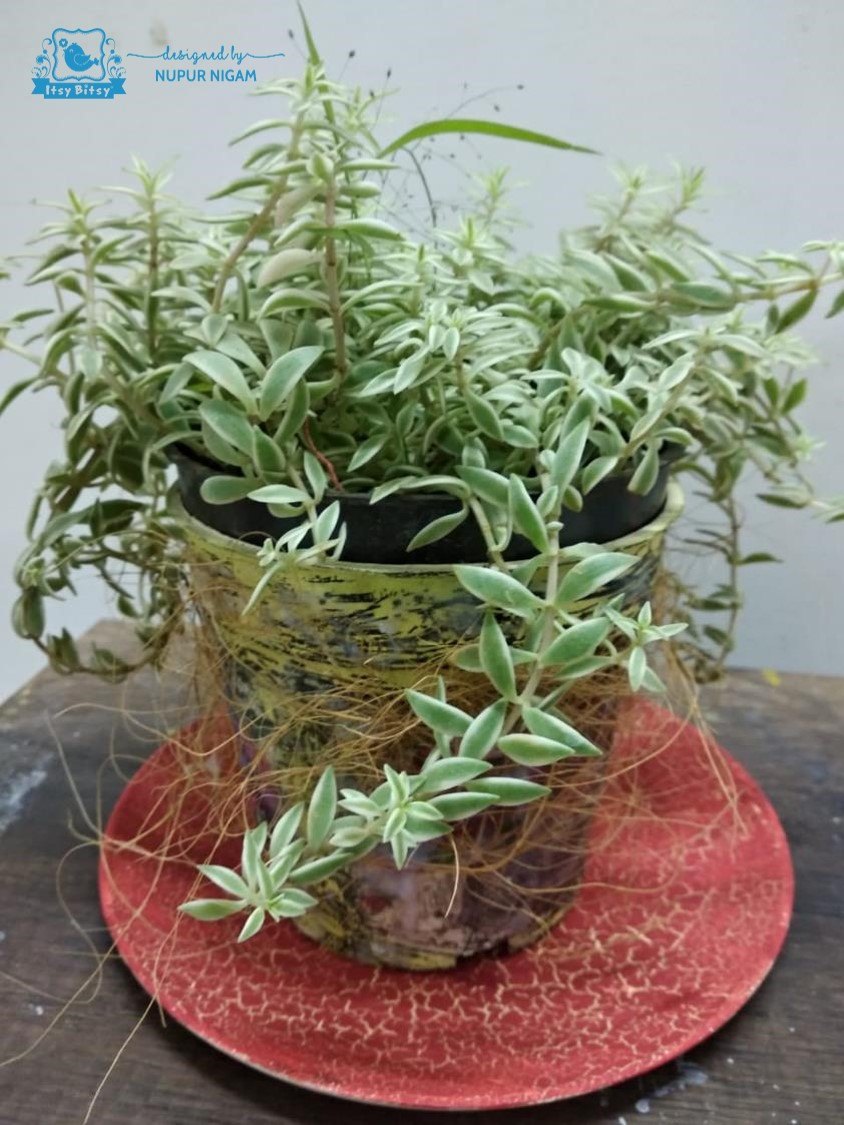
So here is the look of my final project.
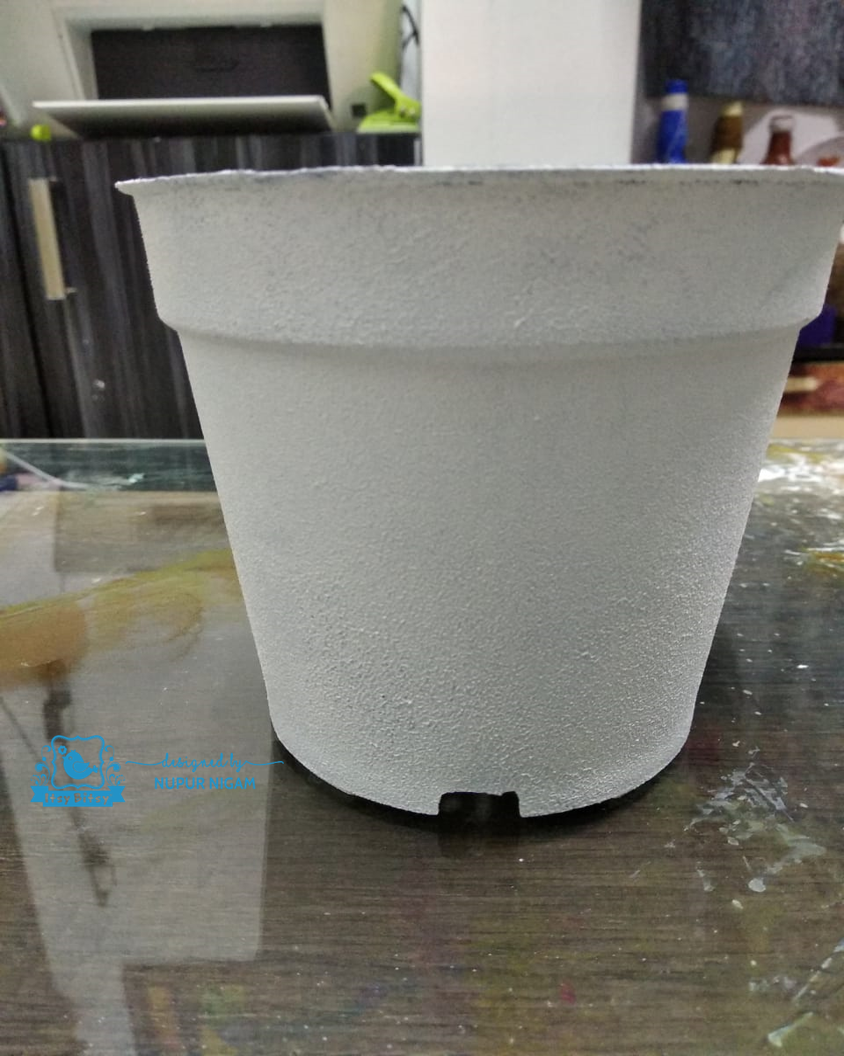
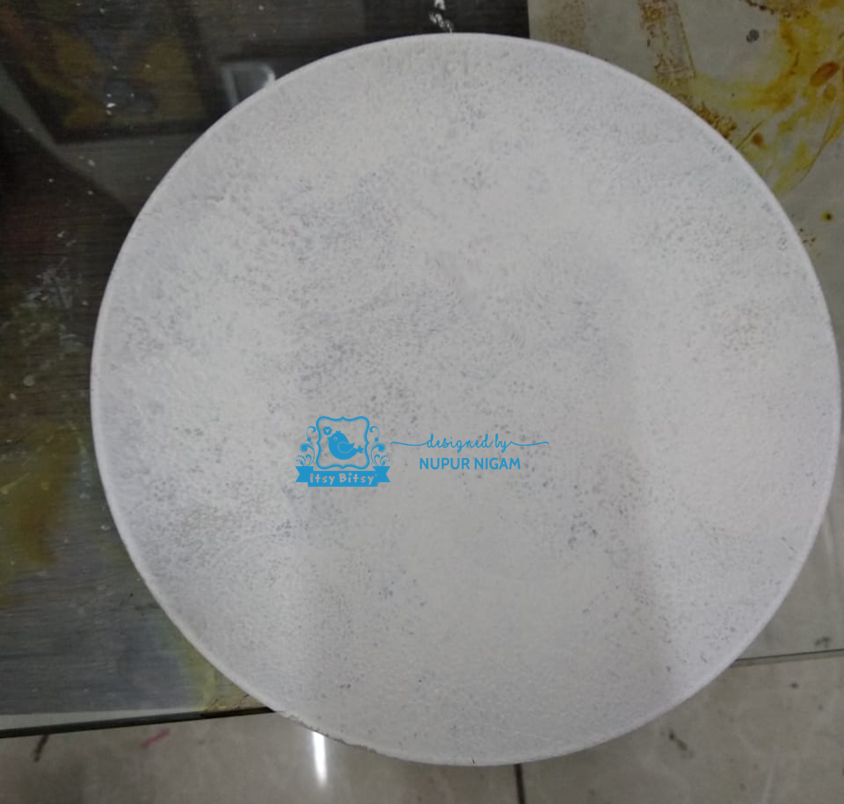
I started with adding a layer of gesso on my plastic planter and plate.
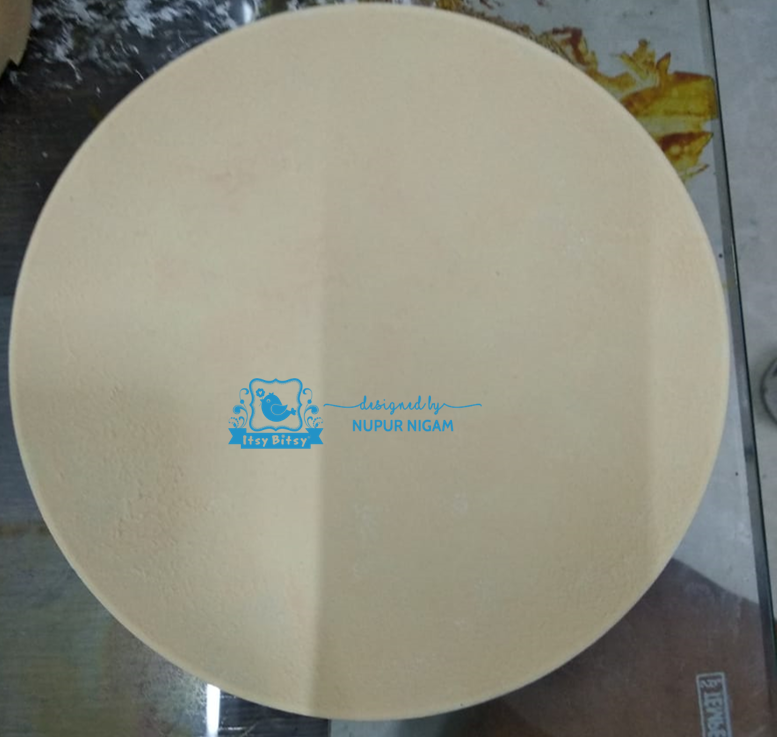
Then I applied layers of Little Birdie Butternut Squash chalk paint and Fortune Cookie.

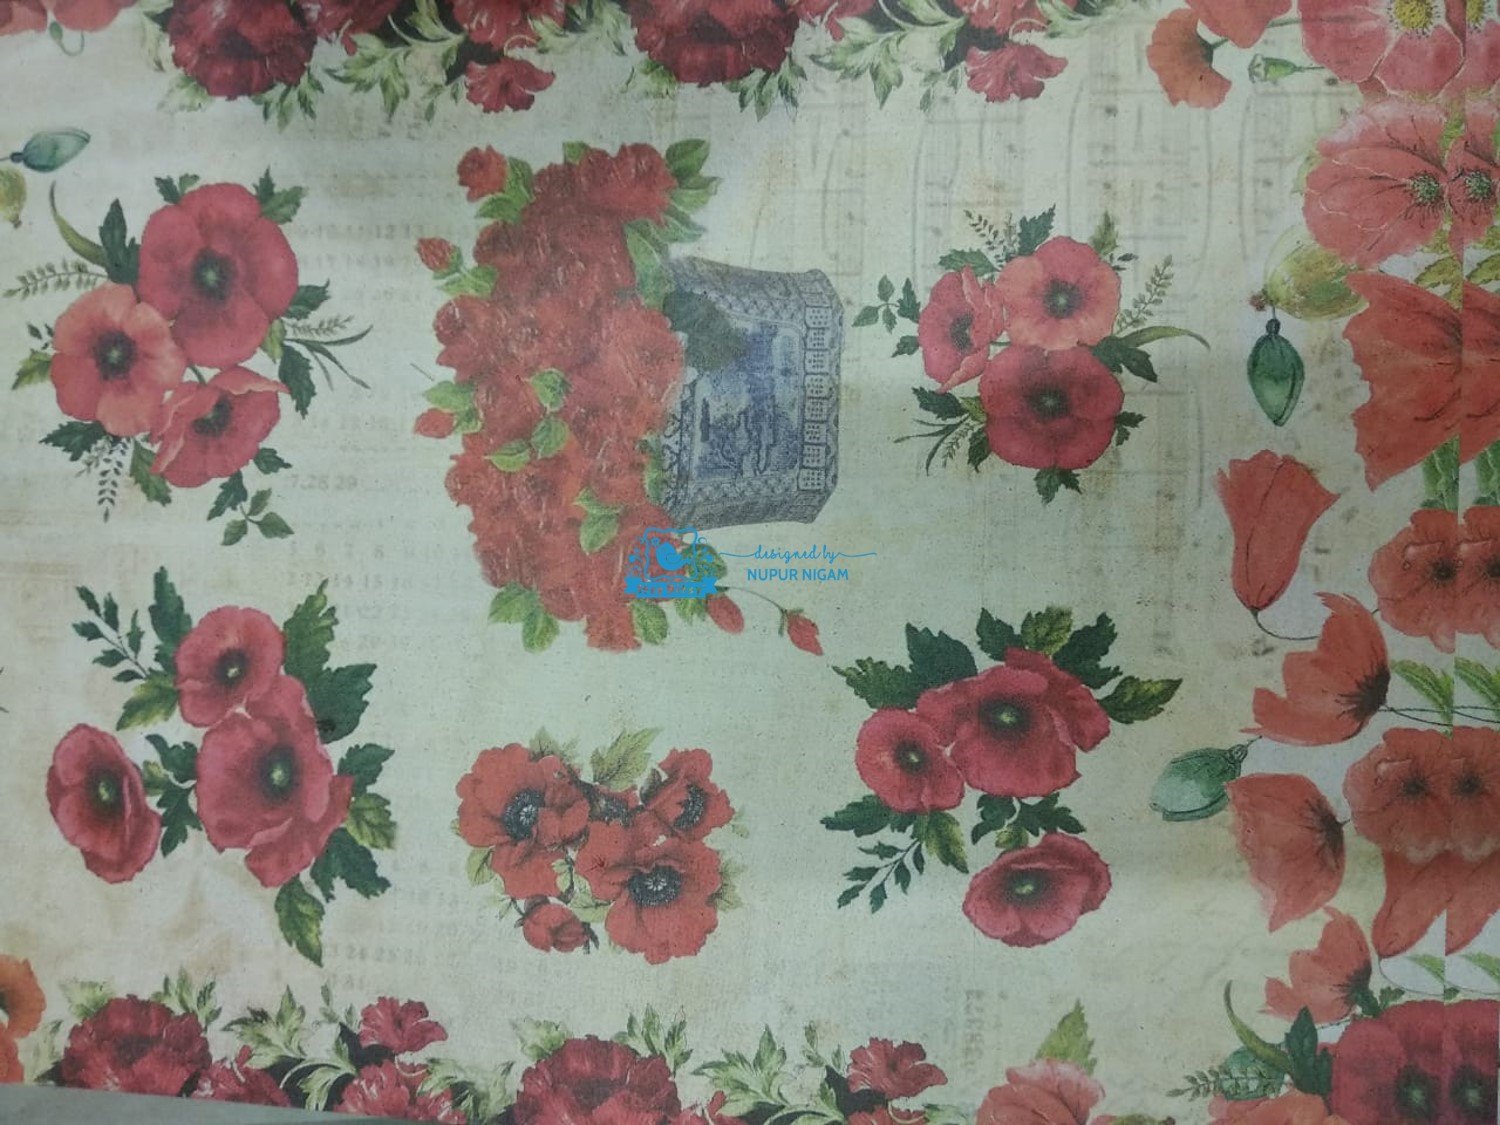
I selected a paper from Little Birdie’s A4 decoupage paper ‘Precious Poppy’ and tore it into pieces . Below is the image of paper I used……….
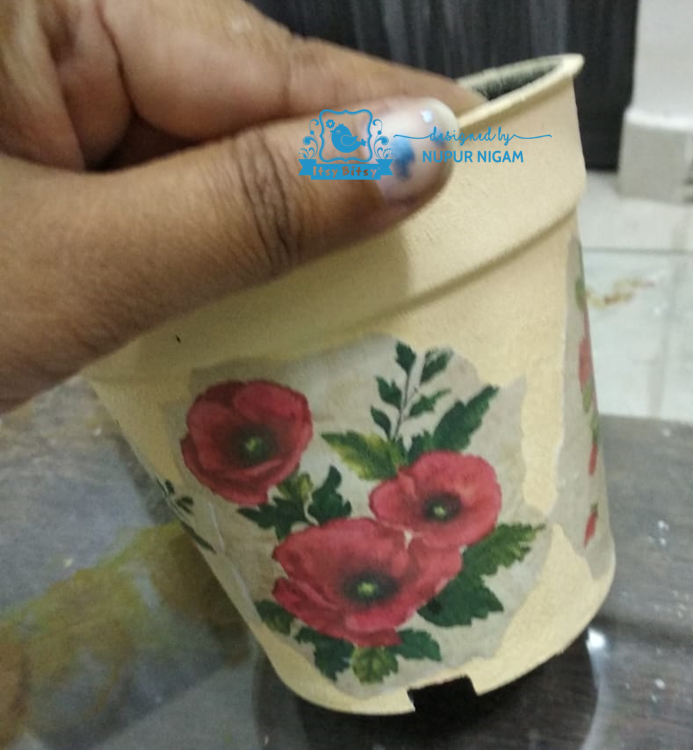
Using Little Birdie’s matte finish Decoupage Glue, I attached the pieces to my planter.
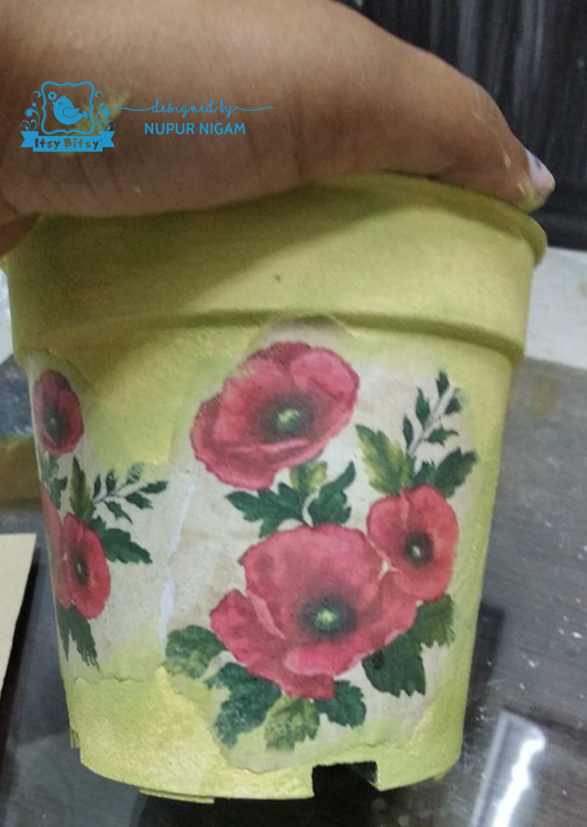
Then, on the portion left blank in the planter, I painted Wild Wasbai chalk paint. Will tell you later why I used chalk paint twice.
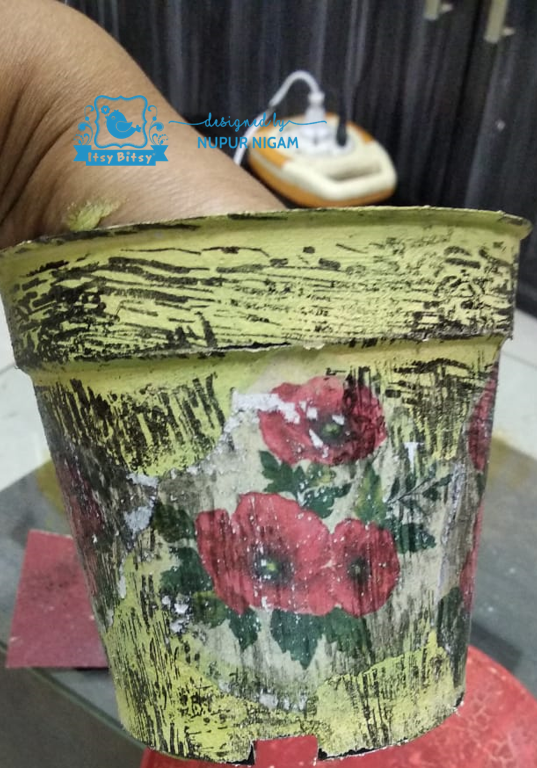
Now I did some stamping….

To give it a distressed look, I used sand paper and rubbed on the edges of my gorgeous paper. It suddenly added a dramatic look and due to sanding my two layers of chalk paints, it also made both visible through some portion (that’s the reason I used 2 different chalk paints)
Now I applied matte varnish over it and let it dry.
After it dried, I used Acrylic Gel Medium to stick coconut fiber onto my planter.
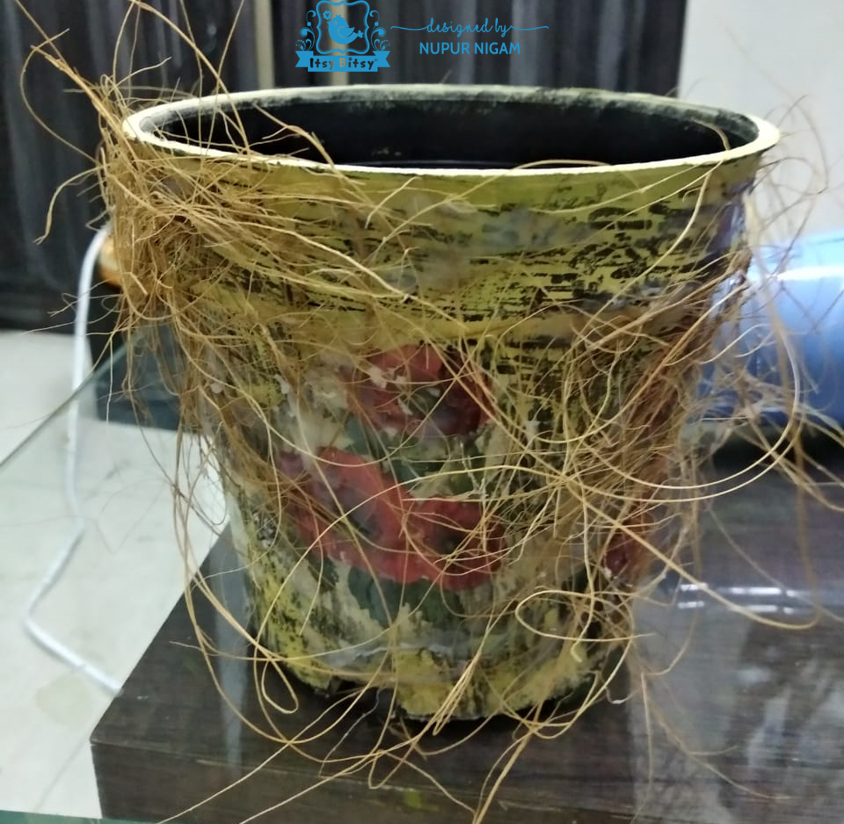
I again sprayed a layer of varnish over it.
Now, on the plate, I used little Birdie’s One Step Crackle Medium and once it was dry I used Salsa Red chalk paint (newly launched color from the Little Birdie range of chalk paints)

Once it was completely dry, I applied matte varnish over it.
I planted a small indoor plant in my pot and kept it on the coordinating plate.
We are done with our decoupage planter! See, how we converted a plastic boring planter into this beautiful indoor decorative.
Go green and happy crafting!!


Comments
Post a Comment